How to Prepare for a Professional Photoshoot
Most of what makes a photo session go well happens before anyone picks up a camera. This guide covers the planning conversation, clothing, grooming, a simple timeline and the small kit worth bringing along.
This guide contains Amazon affiliate links, marked “(Amazon)”. If you buy through them, this site may earn a commission at no extra cost to you. Suggestions are based on research, not hands-on testing. Read the disclosure.
Whether you have booked headshots, family portraits, engagement photos or a branding session, the preparation is broadly the same: agree on what the photos are for, choose clothes that photograph well, look after the small grooming details and arrive with a few things that solve common problems. None of it needs to be expensive.
Start with a clear brief
A short conversation with your photographer before the session prevents most disappointments. Useful things to settle in advance:
- What the photos are for. A LinkedIn headshot, a framed family print and a website banner need different crops, backgrounds and orientations. Say where the images will be used.
- The look you like. Share a handful of example images. Bright and airy, dark and moody, candid or posed — examples communicate this faster than adjectives.
- Location and backup plan. Studio, home or outdoors? For outdoor sessions, ask how weather cancellations and rescheduling work.
- Timing. Outdoor photographers often prefer the hour after sunrise or before sunset for softer light. For young children, nap schedules usually matter more than the light.
- What is included. Number of edited images, delivery time, print rights and whether outfit changes are allowed.
Choosing outfits that photograph well
Clothing is the thing people worry about most, and the rules are simpler than they seem:
- Solid colors and subtle textures usually photograph better than busy patterns, large logos or text.
- Fit matters more than fashion. Clothes that pull, gape or bunch are more noticeable in a photograph than in a mirror.
- Consider the setting. Muted, earthy tones sit well in natural locations; stronger colors can work against plain studio or urban backdrops. Avoid matching the background so closely that you blend into it.
- Bring options. If outfit changes are allowed, bring one more option than you think you need, pressed and on hangers.
- Test it first. Sit down, raise your arms and take a phone photo in daylight. Sheer fabrics, shine and creases show up quickly.
Coordinating a group is a topic of its own — see what to wear for family photos for palettes and a planning method.
Hair, makeup and grooming
- Get haircuts about one to two weeks before the session so they have time to settle.
- Avoid trying new skincare, tanning or makeup products in the days before — reactions and uneven results are hard to hide.
- Matte or satin finishes are generally easier to photograph than very glossy or shimmering products, which can read as shine under flash.
- If you book a makeup artist, tell them the photos are for camera; photographic makeup is often slightly stronger than day-to-day makeup.
- Small details show in high-resolution images: tidy nails, lint-free clothing, clean glasses and no stray hairs on dark fabric.
A simple preparation timeline
| When | What to do |
|---|---|
| 2–4 weeks before | Agree the brief, location and timing with the photographer. Start planning outfits. |
| 1–2 weeks before | Haircuts. Order anything you need to buy or have altered. Try outfits on together if it is a group session. |
| 2–3 days before | Check the weather forecast and the backup plan. Clean glasses and shoes. Confirm arrival time and parking. |
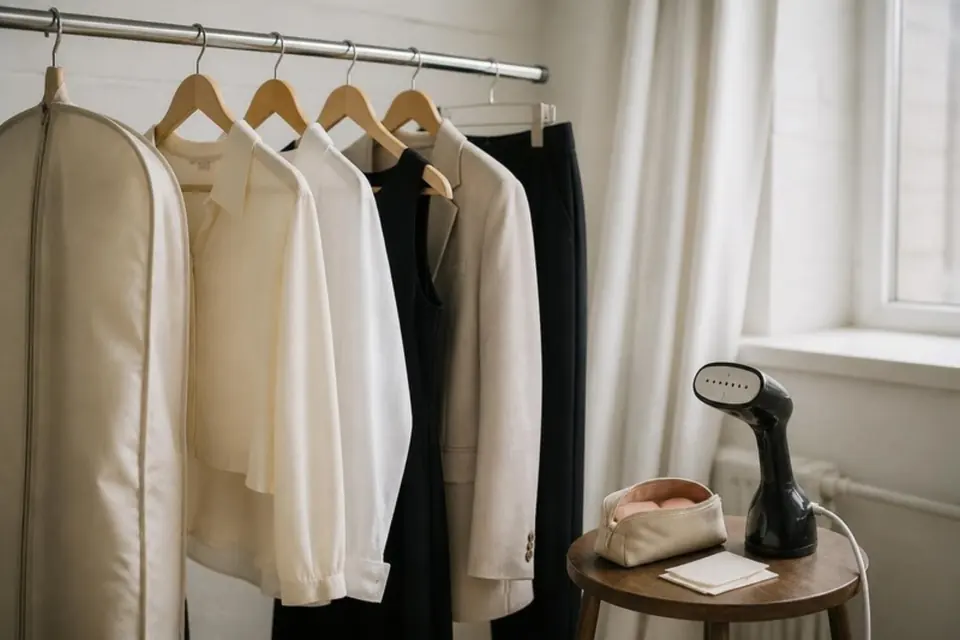
| The night before | Steam or press clothes, hang them in a garment bag, pack the day-of kit, charge your phone and get some sleep. |
| On the day | Eat beforehand, arrive a little early, and leave a buffer so you are not rushing into the first frames. |
What to bring on the day
A small bag of fixes solves most of the problems that come up during a session. Things worth considering:
Lint roller
Dark clothing picks up lint and pet hair that becomes very visible in close-ups. A travel-size roller is enough.
Handheld garment steamer
Useful if clothes travel in a car or suitcase. A basic handheld model is fine; you do not need a full-size upright steamer for occasional use.
Breathable garment bag
Keeps pressed outfits clean and uncreased between home and the location, especially for multiple outfit changes.
Oil-blotting papers and a small mirror
Blotting takes shine off faces between setups without disturbing makeup.
Double-sided fashion tape and safety pins
Fixes gaping necklines, slipping straps and loose hems quickly.
Stain-remover pen
For the coffee drip on the way to the session.
Also useful and probably already in your home: water, a snack that won't stain, hair ties, a comb or brush, lip balm, tissues and any glasses you plan to wear in the photos.
During the session
- Expect to feel awkward at first. The first few minutes are a warm-up for almost everyone; good photographers plan for that.
- Follow direction, then relax. Small posture changes — weight on the back foot, chin slightly forward, shoulders dropped — make a large difference.
- Speak up. If you know you prefer one side of your face, or want a particular shot, say so while there is still time.
- Keep an eye on details. Pockets emptied, hair behind shoulders or not, jackets buttoned or not — decide once and keep it consistent.
Common mistakes to avoid
- Buying a brand-new outfit that has never been worn and turns out to be uncomfortable.
- Scheduling a session straight after a long workday or right before a child's nap.
- Leaving outfit decisions until the morning of the shoot.
- Not telling the photographer what the images will be used for.
Once the photos are delivered, think about how you will keep and display them — our guide to photo albums and frames covers the options.